
In the following document we will discuss how to Compare versions of Salesforce in SpinOne.
Login to the SpinOne platform and head to the Jobs section from the left panel.
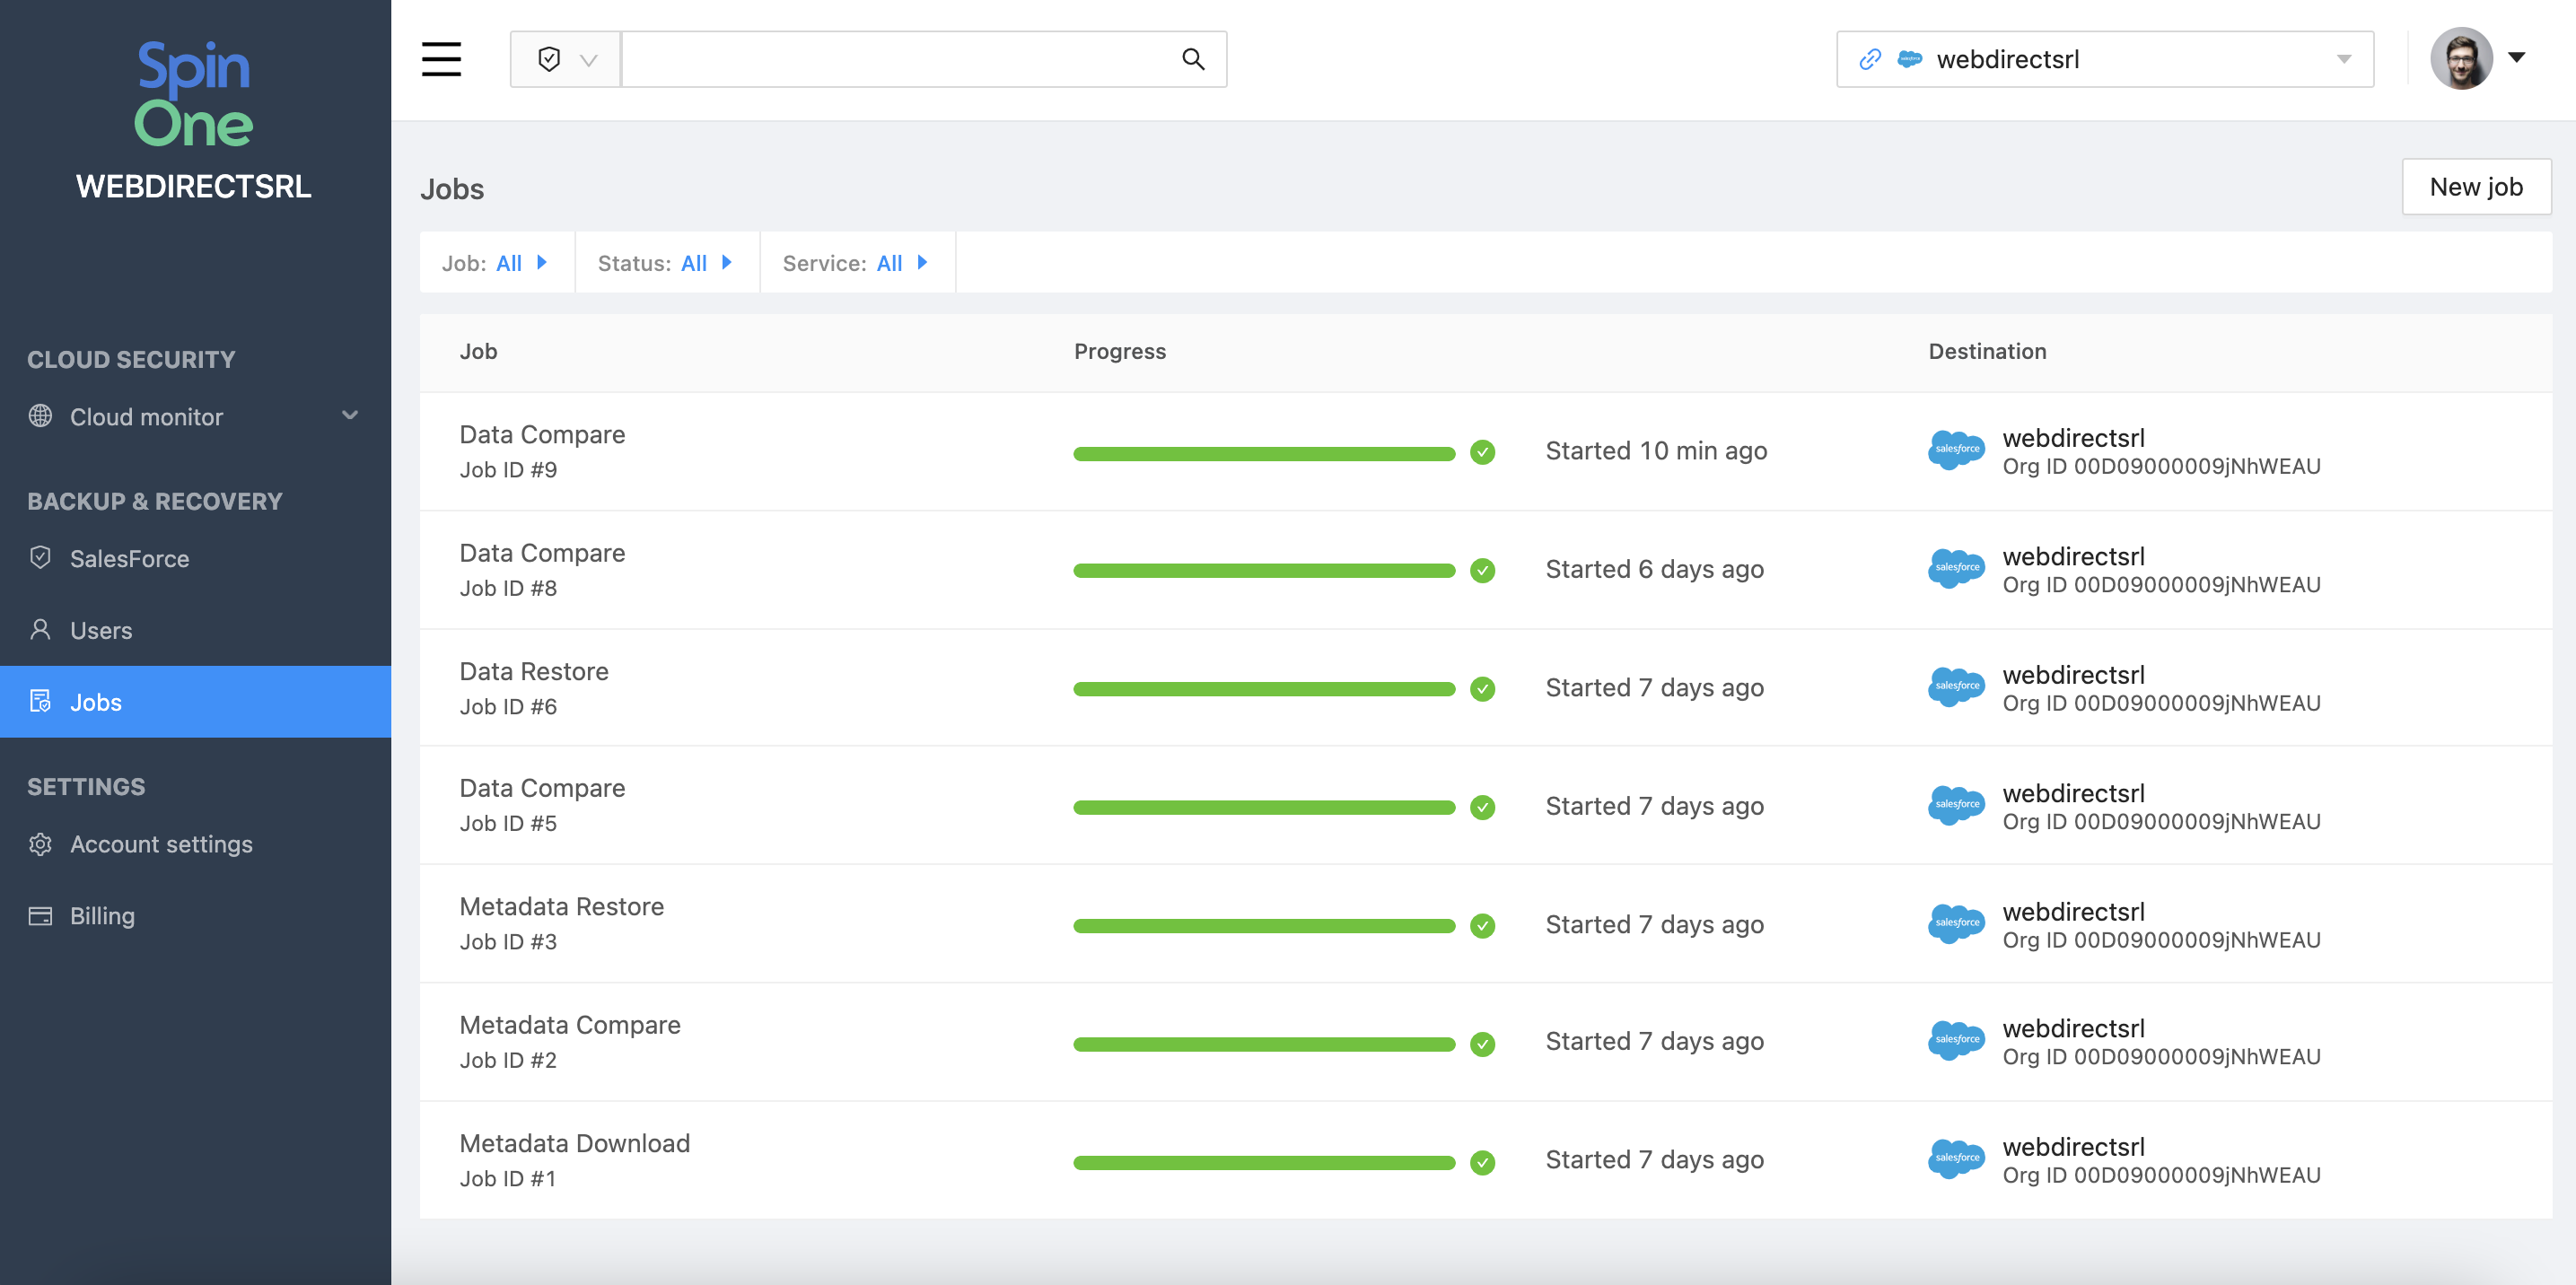
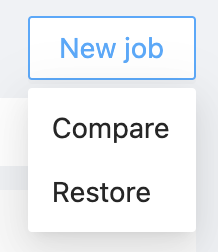
At the top right of your screen, locate the New Job button and click Compare.
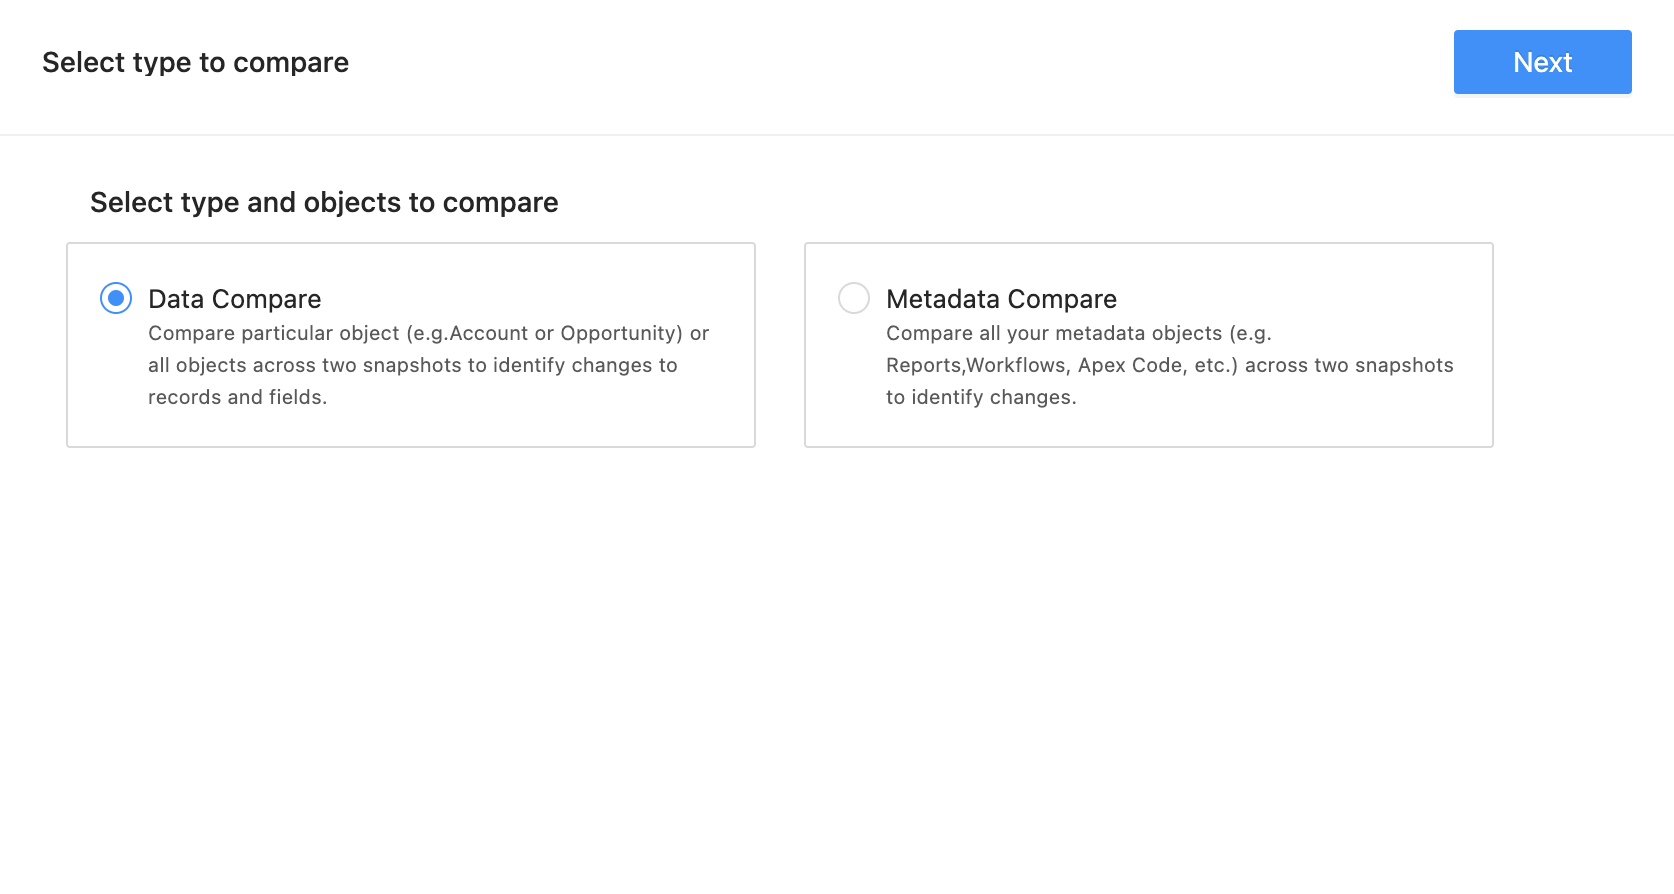
Our next task is determining what type of data to compare. You can choose between the Data and Metadata types.
Next, select the Salesforce instances and backed up versions that you would like to compare between. You can compare different versions of the same Salesforce instance as well.
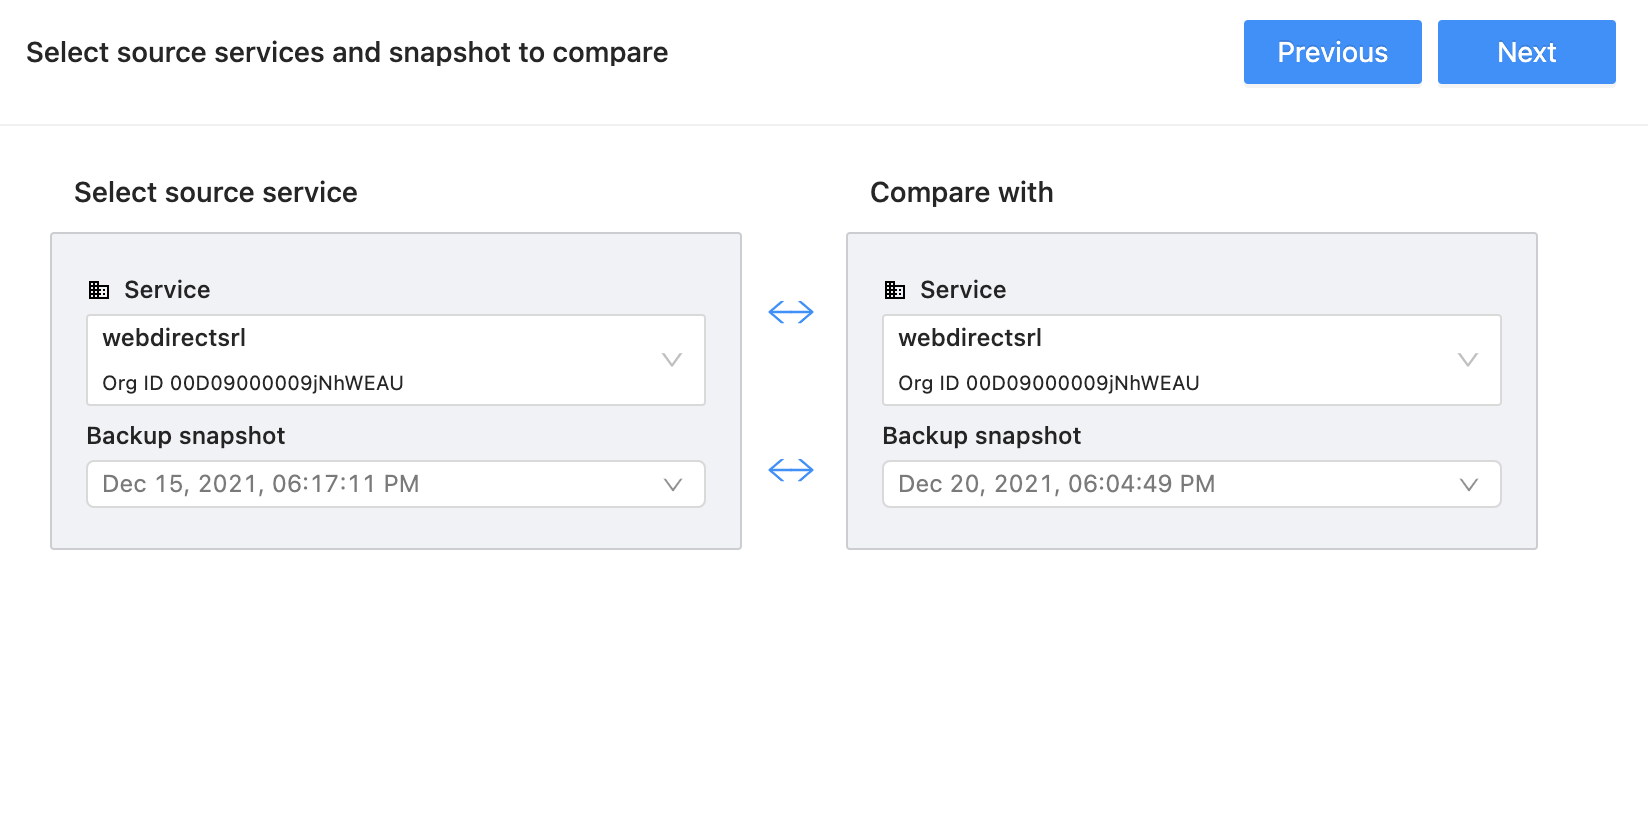
Once completed, click Next to select which objects to compare. You can compare all objects, or choose a specific object.
Note: Choosing all objects automatically encompasses all child objects. If you choose a specific object, you need to choose if you would like to compare the children of that object as well.
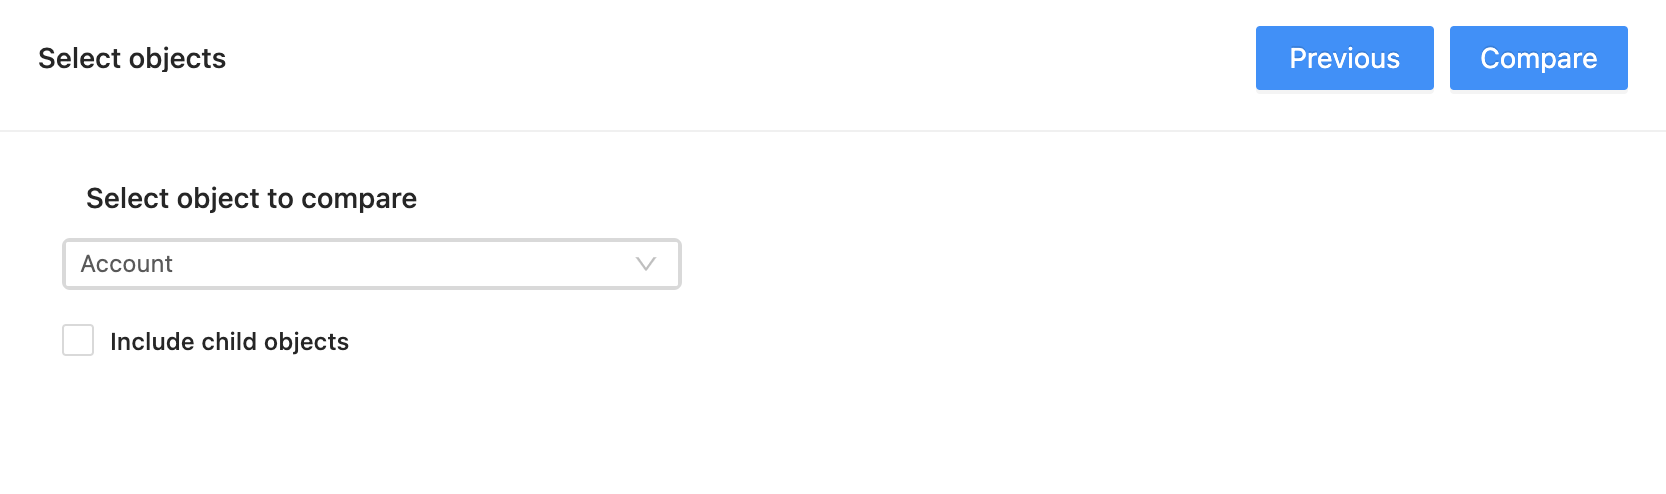
Click on Compare to launch the task!
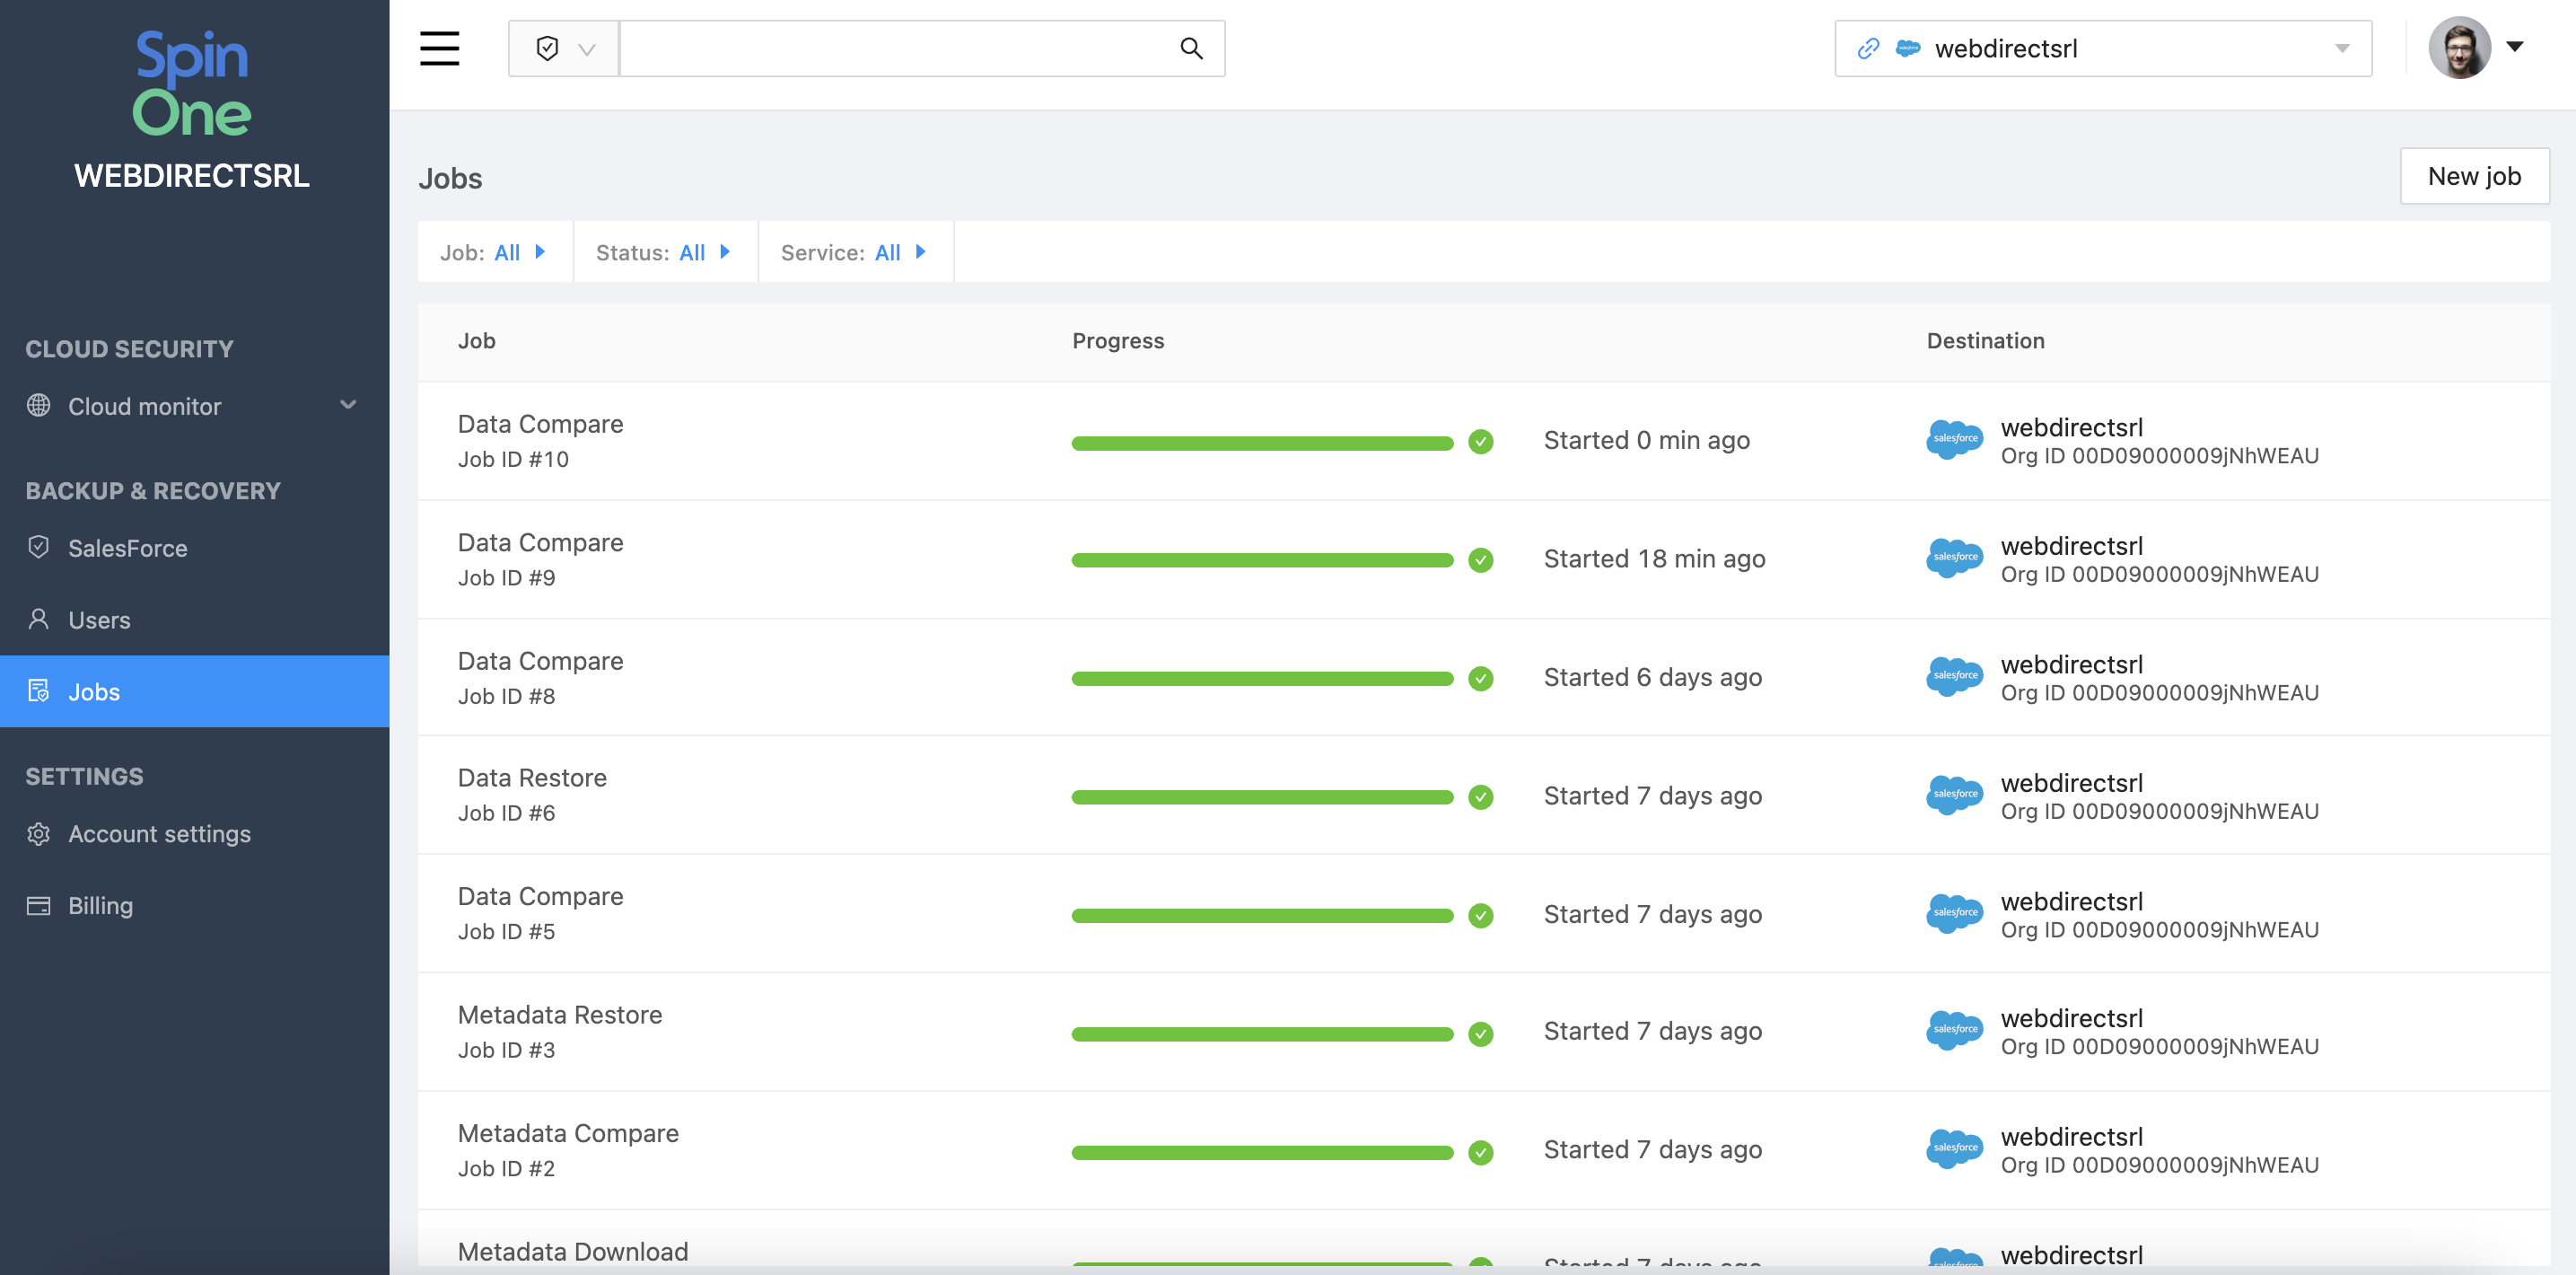
You will now be taken to the Jobs management area where you can view the task complete in real time. Once it has completed, click on the job to learn more information.
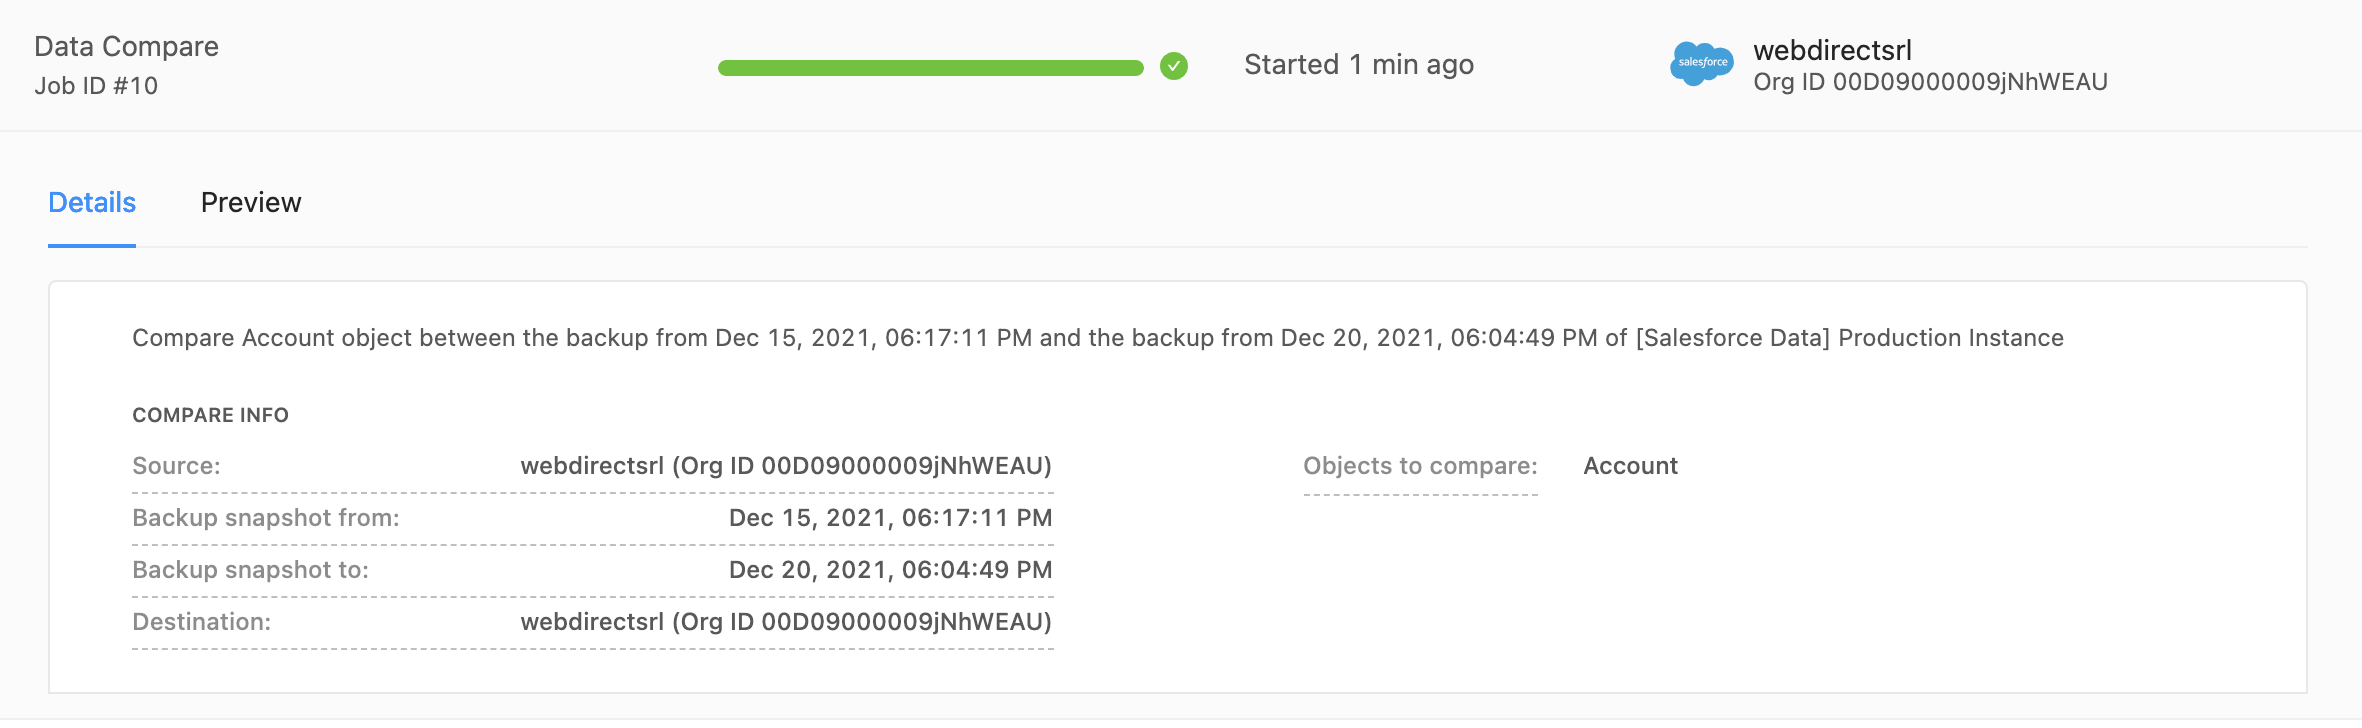
The Details section will provide a summary of the instances and versions that were compared, along with what type of objects.
The Preview section will specify exactly what has been removed, changed or added between the two versions.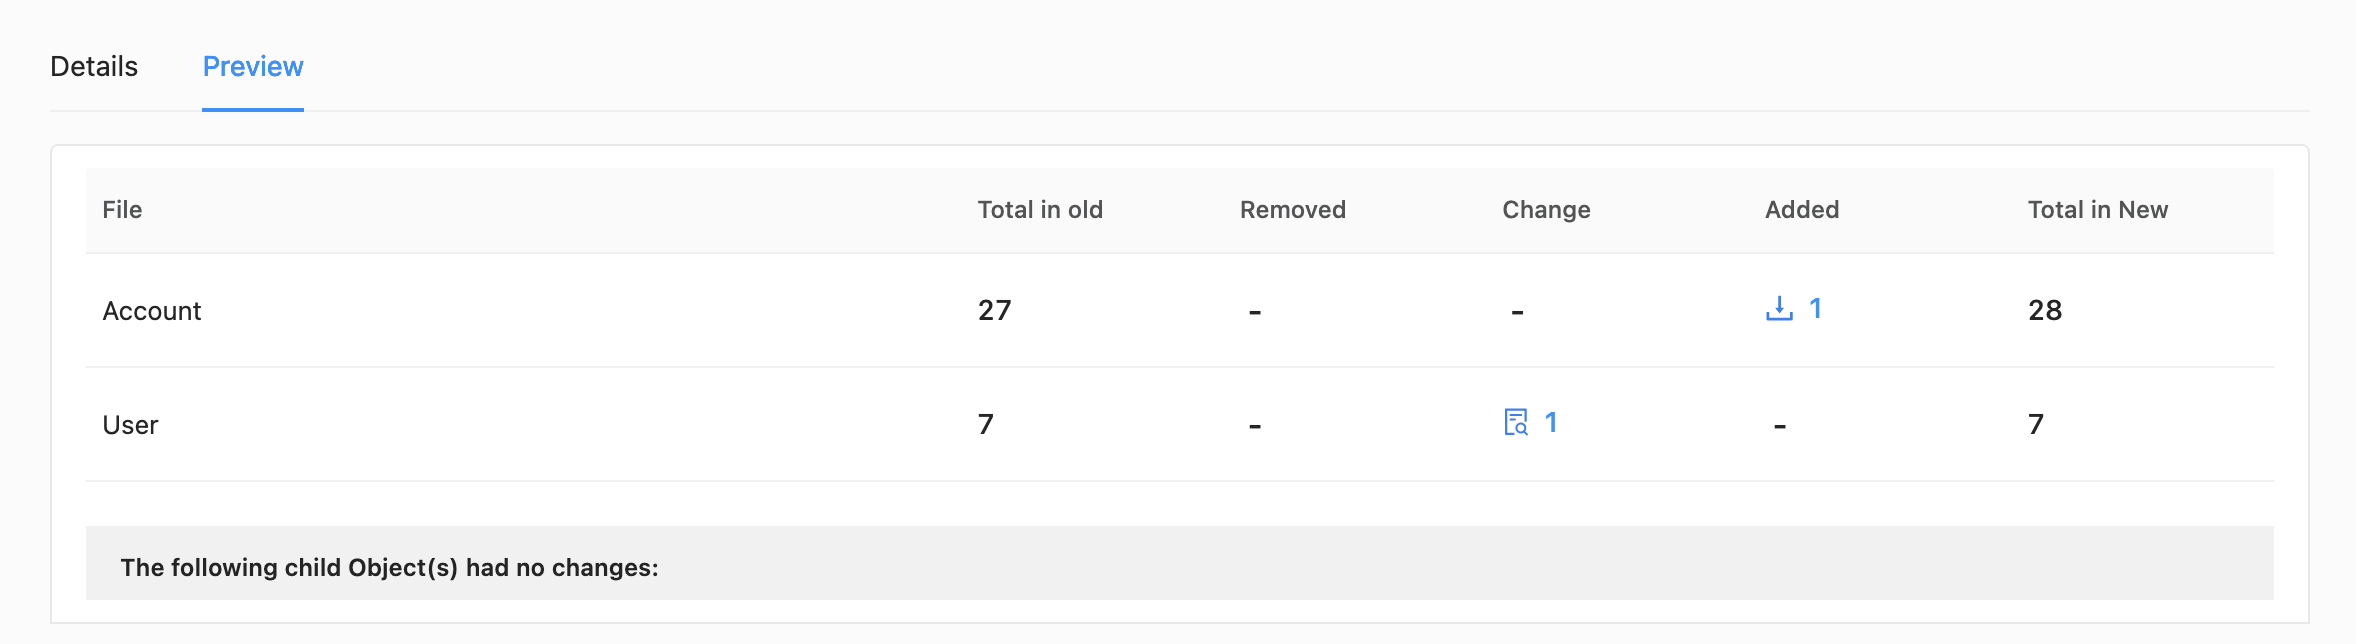
Clicking on the number of Added/Removed objects will export a .csv outlining the objects that have been added or removed.
Clicking on the number of Changed objects will open a preview first displaying the old vs new objects, then will provide the option of exporting either the old or the newly changed version of that object.